Zen and the art of hot tub heating
I hope you enjoy this process as much as me. Once I transitioned to a traditional wood-burning hot tub I can never go back to a chemical plastic one. This process of heating takes patience and perseverance, but these are all skills that you hopefully came to the country to practice. Once the smell of the burning wood and cedar hits the air it’s just heaven.

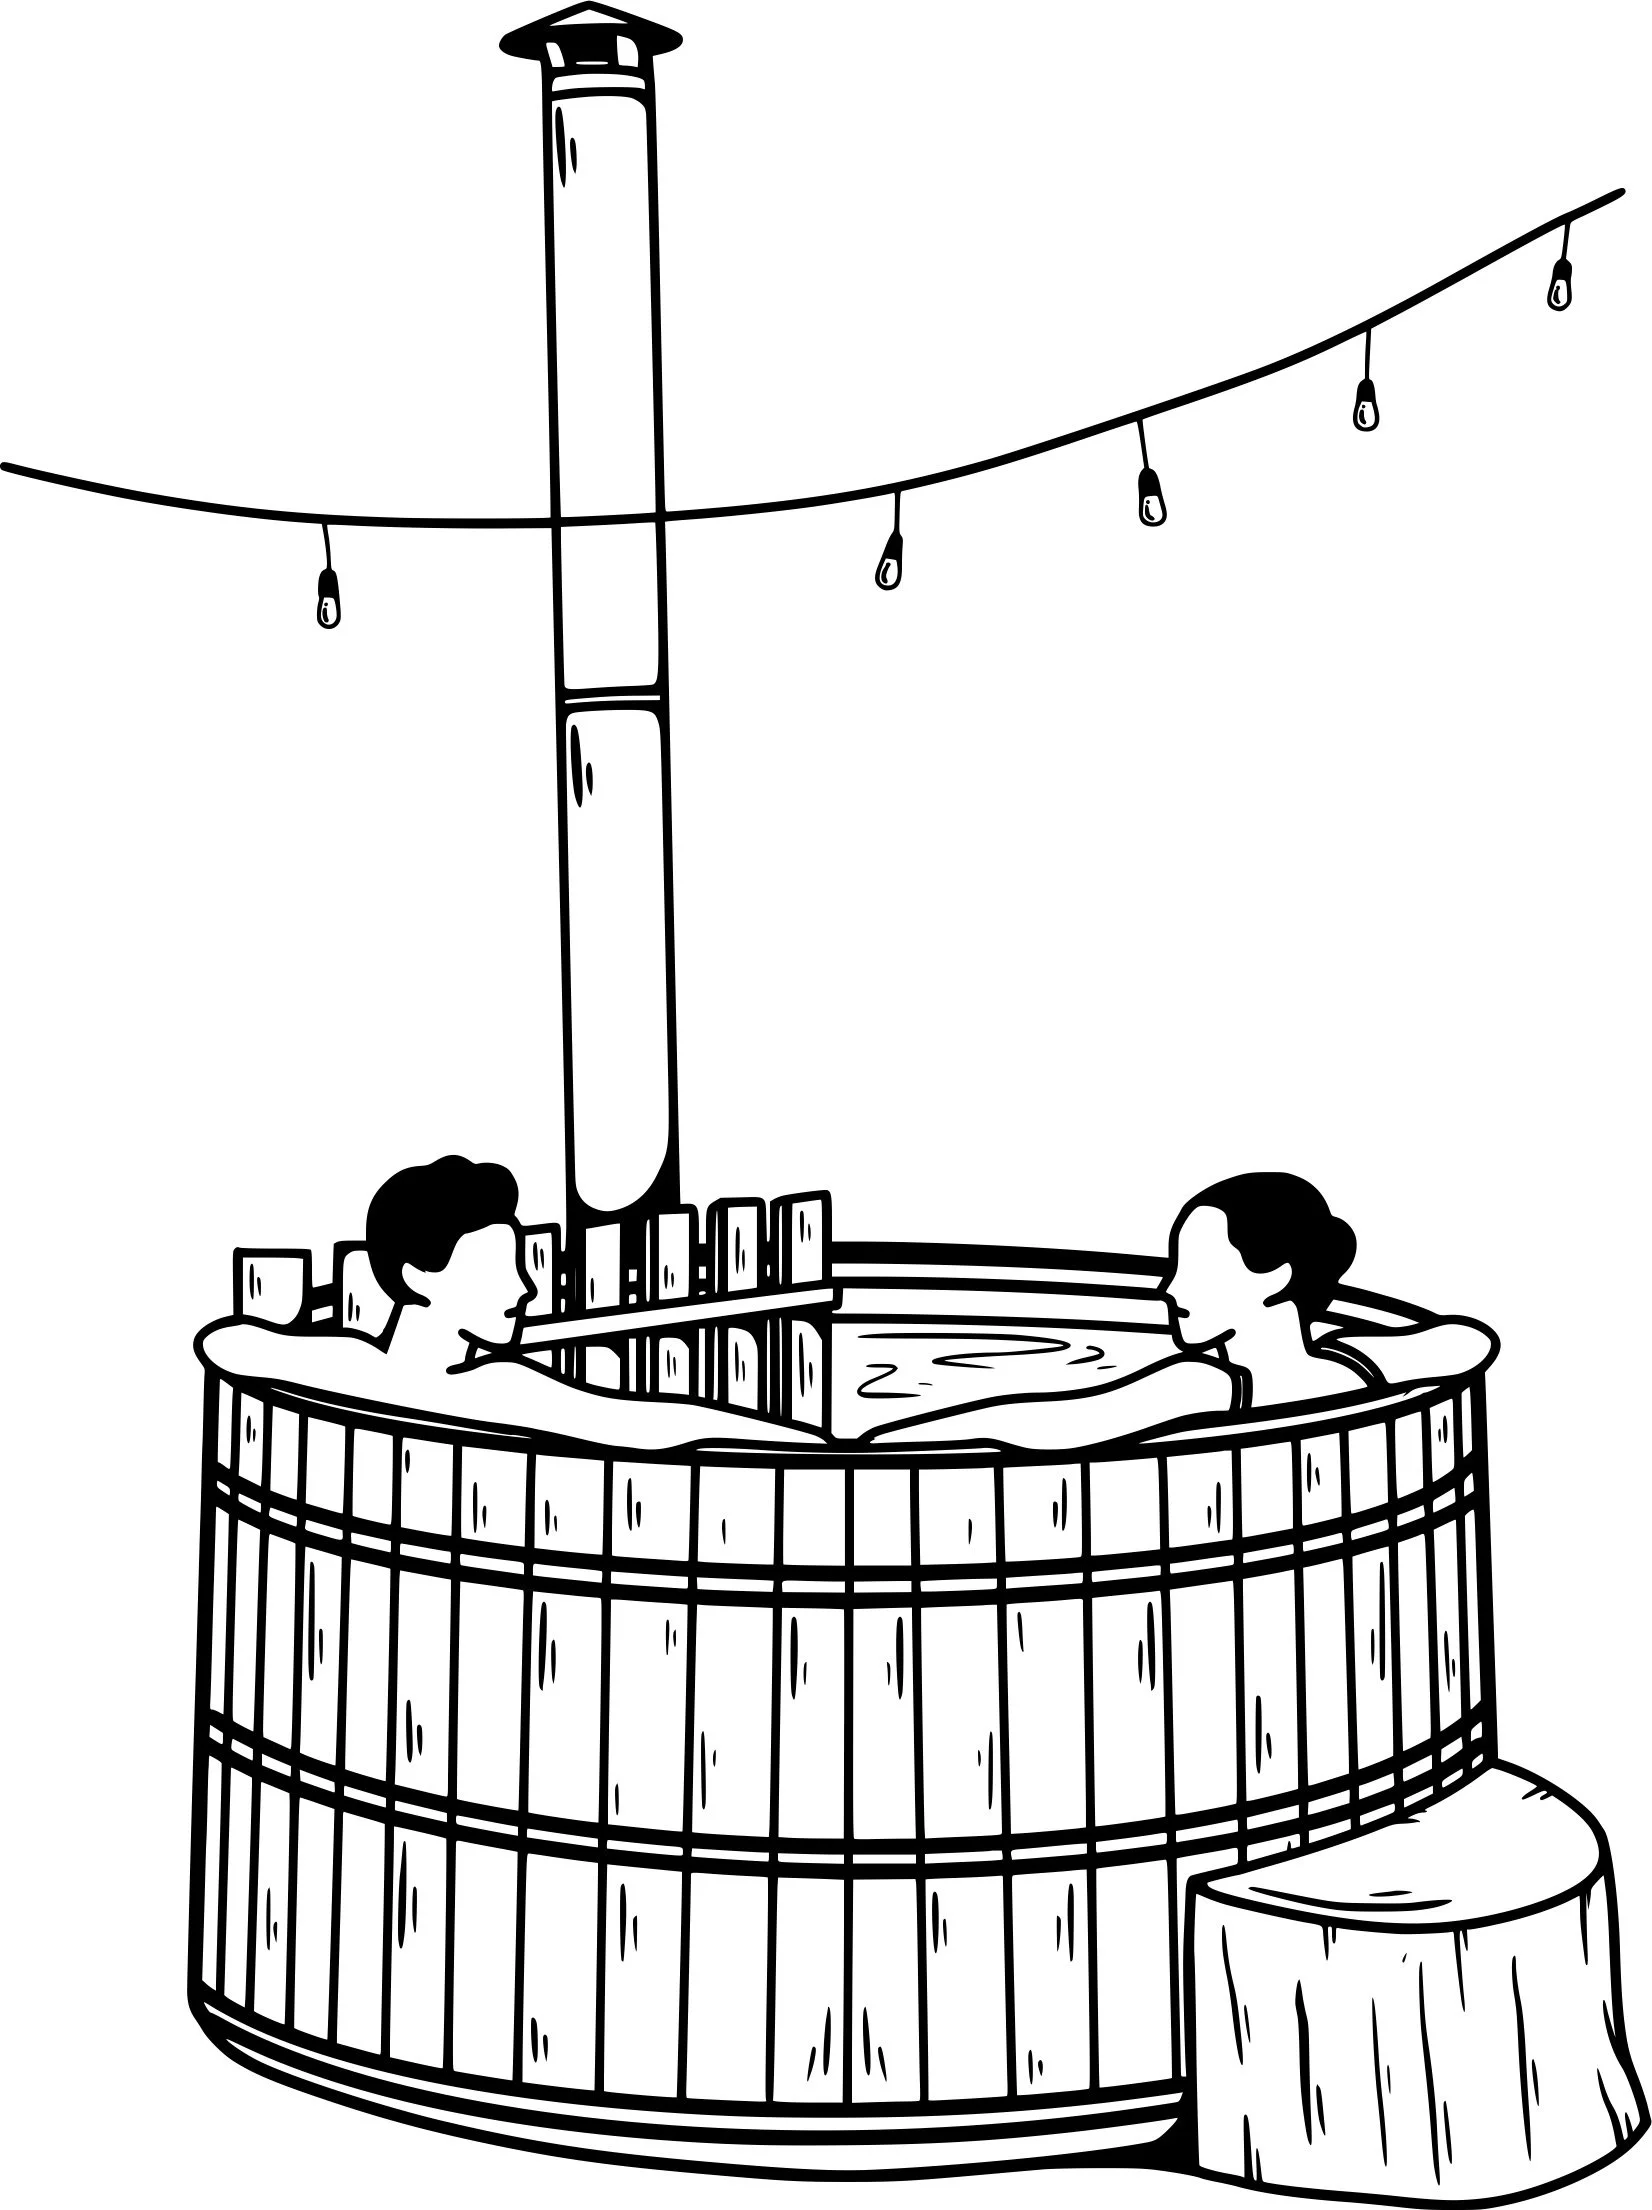
STEP 1
Make sure the water level is at least 4 inches above the stove. If the water level is low you can top it off from the hose located on the side of the house facing the driveway.
After many hours of bathing or if you have a big crew of people in the tub, you WILL lose water through displacement or evaporation.
STEP 2
Grab a fire starter and collect a stack of smaller lighter firewood or kindling from around the property. Create a teepee shape in the stove. Light your fire starter with the provided flame thrower 😂
You can also use some nontoxic paper, such as brown paper bags or cardboard to surround the fire starter to give it more of an opportunity to catch.
Make sure the fire starter has enough air circulation.
The key to good fires is AIR AIR AIR! I will normally leave the stove top off for 10-15 min until the fire is really raging. There is a sweet spot when the fire is going steady where you can start to place your logs. Start with smaller lighter pieces of wood. Too much wood at this point can dampen the flames.
The 1st 30-45 min are the most important for monitoring and adjusting as necessary.
If your fire looks weak make sure to get more airflow by moving the wood around with your metal poker.

Once the fire is going you can sit back and relax. Start to place some larger denser logs which will burn slowly and steadily. Monitor your fire every 30 min and check the temp, there is a thermometer attached to a white string inside the hot tub.
Step 3
FACT ❤️ Hot water will stay at the top and cold water will be at the bottom. I provided a paddle for you to stir the water and distribute the heat so that you can get a more accurate overall temperature reading.

Step 4
Stop putting in wood once the thermometer hits about 95.
If you keep feeding the fire past this point it’s possible that the hot tub will be TOO hot. Once you dip your toes in for the 1st time make sure that you immediately touch the BOTTOM of the hot tub and start to swirl around the cold water that the paddle didn’t reach. I always turn it into a little dance. Have fun! You are at home base.
If the hot tub is too hot you can always add some cold water from the hose.
We turn the hose tap off in the winter so that our pipes don’t freeze and burst, but the valve to turn on the tap is accessible just on the inside of our basement crawl space. Make sure to drain the tap and turn off the inside valve if you ever do use the hose during the winter months.

Step 5
……………..soak and chill chill chill!!!! YAS. We also have a cold plunge pool next to the hot tub for you to enjoy, or of course, you can always go and dip in the river.
Some other words of wisdom from a wood-burning hot tub on the river PRO.
At the end of the nite place the covers back on and fill up the stove again so that you can have a soaking ready hot tub in the morning. Morning soaks are my FAVORITE.
Give yourself 4-5 hours to heat in the winter, and 2-3 hours in the summer. esp if it is your 1st time. You will get the hang of it, but as I said this process takes time and patience.
Hot Tub Ettiquite 101
Wash your hair and your body before you enter. We provide you with public goods liquid body soap in the main bathroom. You can shower indoors in the winter or in our outdoor shower in the spring/summer. Wear the spa slippers to and from the cabin so that you don’t track mud into the hot tub